Auth Made Easy: MSAL, React and Access Tokens
Learn how to retrieve access tokens in React using MSAL in a reusable and modular way.
One of the things I find frustrating about a lot of documentation is that it shows you how to write code for one component or area of code. It doesn’t show you how to write it in a way that you can re-use it throughout your code base.
So when seeing samples around retrieving an access token with MSAL, it wasn’t a surprise to me that it showed it for a particular example in a singular component.
That’s not what we’re going to be doing today.
Instead, we’re going to be creating an API interceptor that will add an access token onto the API request, this will allow us to use that API interceptor across different endpoints rather than having to duplicate code logic throughout our application.
For this tutorial, we’ll start with a simple CRUD app for managing students. You can find the base code in this GitHub repository, which retrieves a list of students and lets you add, edit, or delete them.
1. Project Setup and Prerequisites
First, clone the project repository and install the dependencies.
git clone https://github.com/Jade-Codes/auth-made-easy.gitIf you are wanting to get this up and running yourself, I recommend viewing the previous tutorials that show you how to do that:
React MSAL Authentication
Connecting a backend app registration to a frontend app registration
Fast API Azure Auth
If you haven’t set up MSAL yet in your project, I would encourage you to check these out first because you will need them in order to be able to login and authorise your backend.
For those of you that have already done this, follow along to see the changes made!
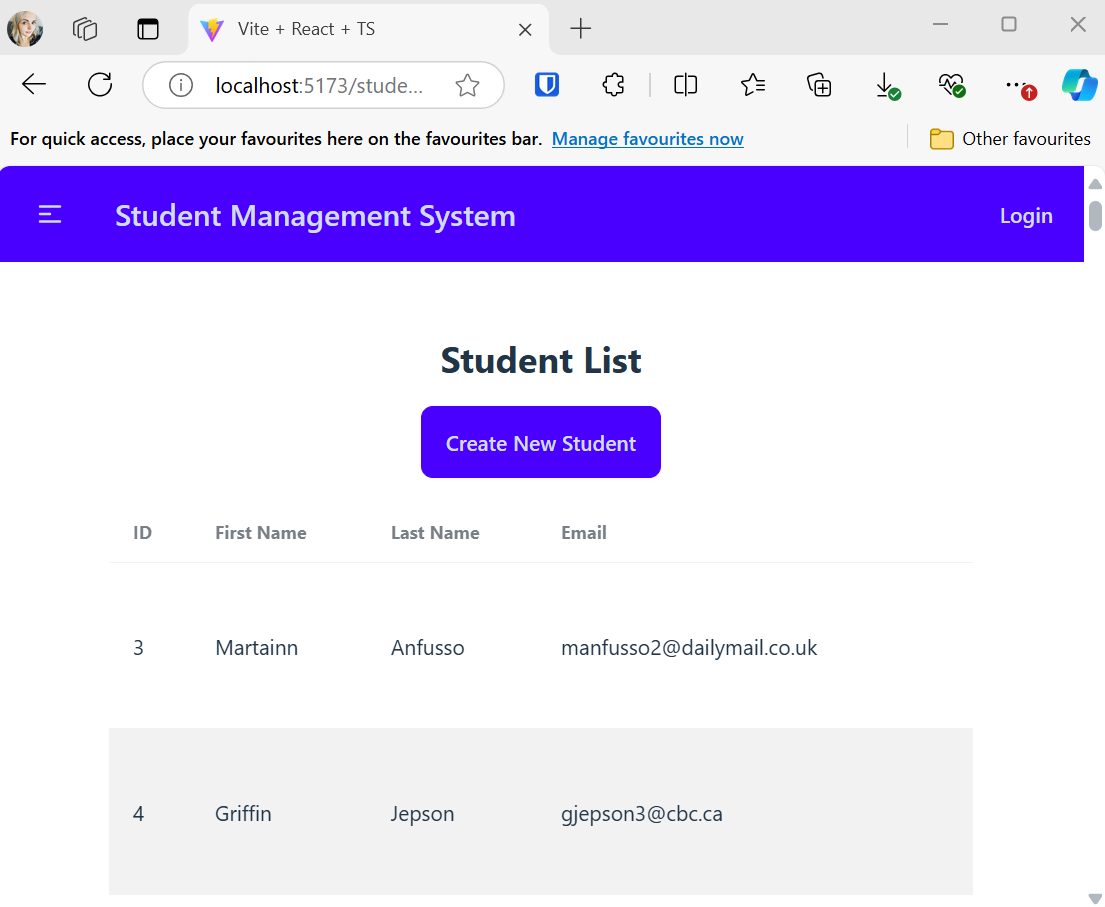
My initial student application, when running will show you the following data:
This is not good, we do not want the general public seeing this data, and thus we need to ensure the API is protected by ensuring the user is authorised to see this data.
So, let’s get on with it…
2. Updating the Backend to Require a Token
We’ll start by modifying our Python backend to require an access token.
In main.py, we update the route inclusion to add a security dependency that validates tokens:
app.include_router(students.router, dependencies=[Security(azure_scheme, scopes=["access_as_user"])] )This simple change ensures that only authenticated requests with the required scope can access the student API.
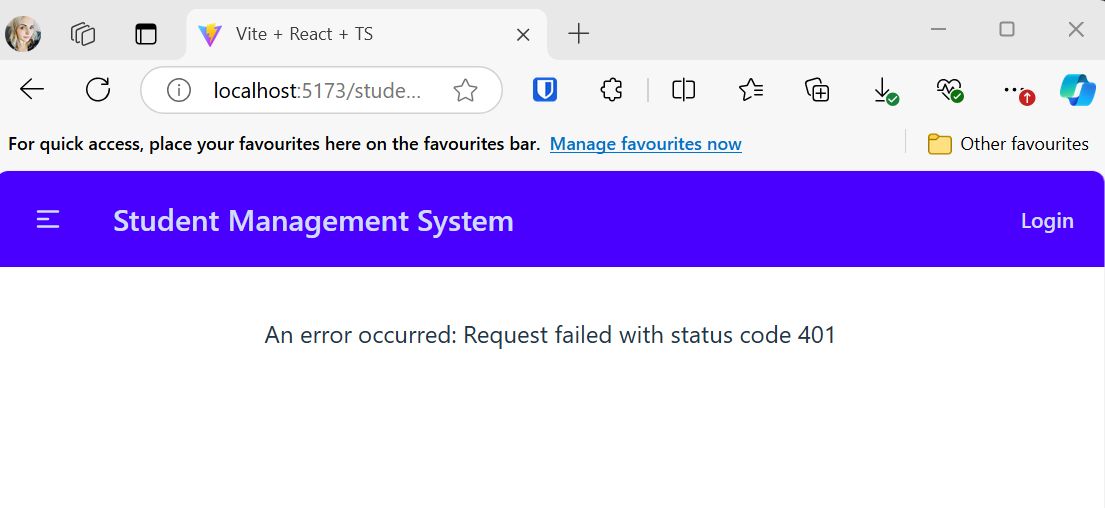
By doing this, you should now get the following when you’re not logged into the application:
3. Creating the API Client in React (TypeScript)
The API client will be a reusable component that includes a request interceptor, attaching the access token to every request. This approach means you won’t need to manually include the token in each call, centralising authentication logic and keeping your components clean.
To begin, create a new file named api-client.ts in the src directory.
Step 1: Import the Required Libraries
In api-client.ts, start by importing the necessary libraries. We'll use axios for HTTP requests and @azure/msal-browser to interact with MSAL.
import { PublicClientApplication } from "@azure/msal-browser";
import { msalConfig } from "../auth/auth-config";
import axios from "axios";
Step 2: Initialize MSAL and Configure Axios
In api-client.ts, we’ll create an MSAL instance and configure axios to intercept requests, retrieve the access token, and attach it to the Authorization header.
Code in api-client.ts:
const msalInstance = new PublicClientApplication(msalConfig);

const API_URL = "http://localhost:8000/api";

const apiClient = axios.create({
    baseURL: API_URL,
});
Step 3: Add an Axios Interceptor for Token Attachment
Now, configure an axios interceptor to automatically include the access token with every request, as well as ensure every request includes a valid access token, we retrieves the token silently from MSAL.
msalInstance.initialize().then(() => {
    apiClient.interceptors.request.use(async (config) => {
        const account = msalInstance.getActiveAccount();
        if (account) {
            const tokenResponse = await msalInstance.acquireTokenSilent({
                account: account,
                scopes: ["api://edutaskhub-be/access_as_user"],
            });
            config.headers.Authorization = `Bearer ${tokenResponse.accessToken}`;
        }
        return config;
    });
});
The interceptor:
Initialises the MSAL instance in order to ensure the access token can be retrieved.
Calls
acquireTokenSilentto retrieve the token.Attaches the token to the
Authorizationheader of each outgoing request.
This setup keeps your components clean by centralising authentication handling in the API client.
4. Updating the Student API Wrapper
With the API client in place, let’s create a module that handles CRUD operations for student data, ensuring every request includes the access token.
In the file, student-api.ts, update the methods for interacting with the backend to use the api client we have just created.
Code in student-api.ts:
import apiClient from './api-client';

export interface Student {
  id: number;
  firstName: string;
  lastName: string;
  email: string,
  dateOfBirth: string,
  enrollmentDate: string
}

export const getStudents = async (): Promise<Student[]> => {
  const response = await apiClient(`/students`);
  return response.data;
};

export const getStudent = async (id: number): Promise<Student> => {
  const response = await apiClient(`/students/${id}`);
  return response.data;
};

export const createStudent = async (student: Student): Promise<Student> => {
  const response = await apiClient.post(`/students`, student);
  return response.data;
};

export const updateStudent = async (id: number, student: Student): Promise<Student> => {
  const response = await apiClient.put(`/students/${id}`, student);
  return response.data;
};

export const deleteStudent = async (id: number): Promise<void> => {
  await apiClient.delete(`/students/${id}`);
};
This simplifies how the frontend interacts with the backend by centralising CRUD operations for students. Each function:
Calls the relevant endpoint via
apiClient, which automatically handles the authentication token.Returns the response data or throws an error if the request fails.
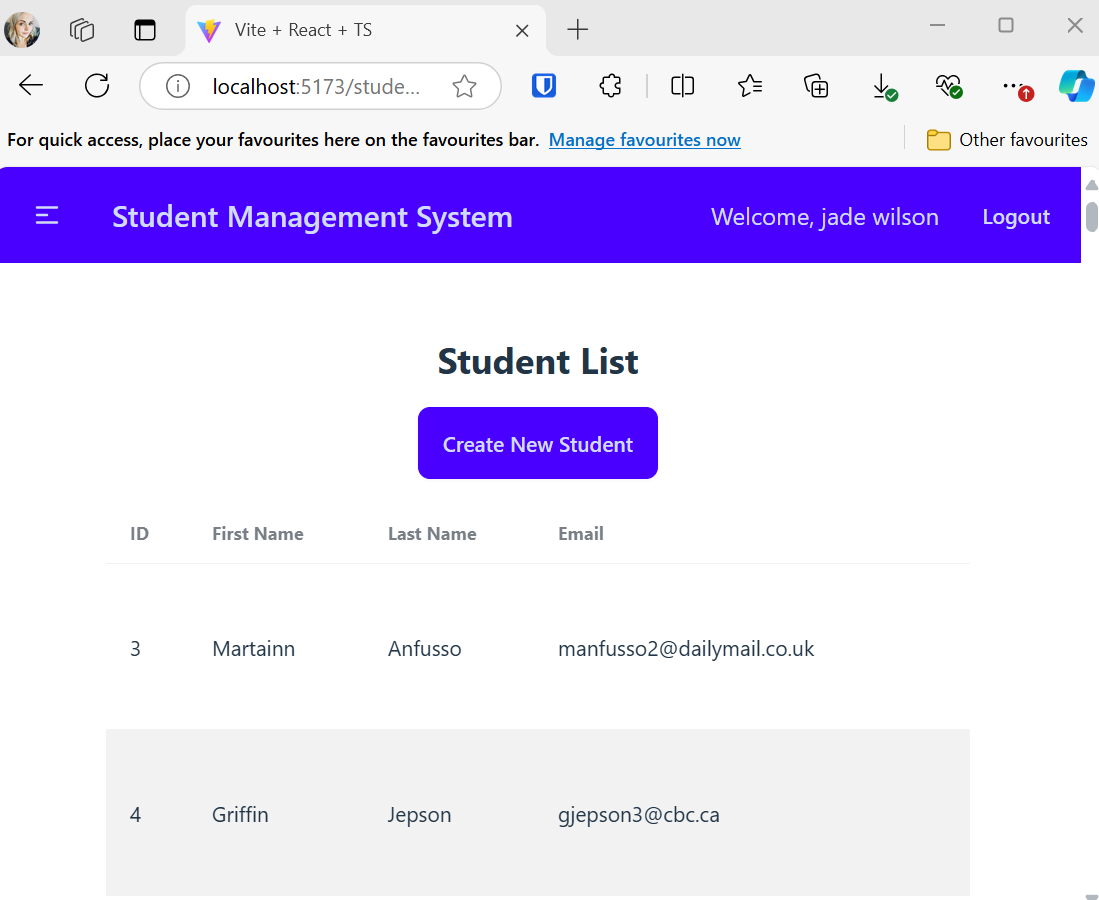
Now you should be able to verify a token gets added to your request and you should be able to see the data when you’re logged in:
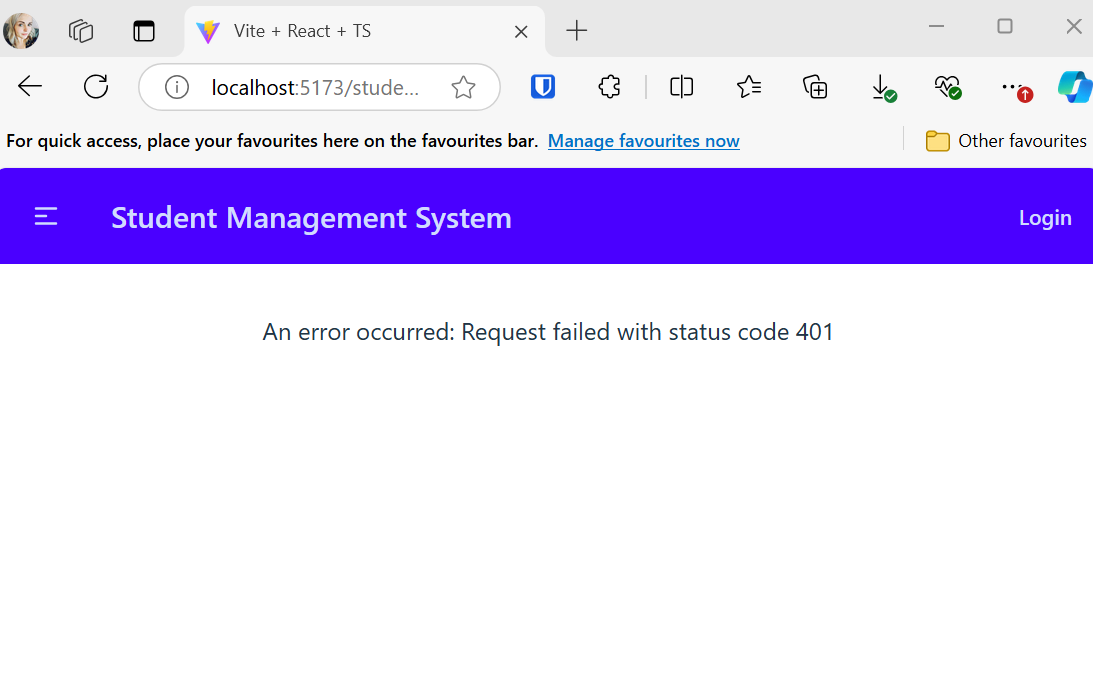
And not when you’re logged out!
5. Wrapping Up
With this setup:
The backend now requires a valid access token for API access.
The frontend uses a centralised
apiClientto attach the token to every request automatically.A reusable
student-apimodule handles all CRUD operations for student data, keeping the codebase organised and easy to maintain.Minimal error handling has been done in this example, I would encourage more thorough error handling for production systems.
By following these steps, you avoid redundant authentication code across components, making your app more scalable and secure.
In the next episode, I’ll show you how to protect specific pages in your app by hiding and routing users away from restricted areas rather than throwing the 401 which we currently do. This will ensure that users without the proper access are redirected to the home page, keeping your application secure and user-friendly.
If you liked this article, don’t forget to check out the video that goes into more detail:
Want to view the source code? Check it out here!


